For most of us who quilt on our home machines, a quilt any larger than twin size is difficult to manage on our sewing machines. There are many excellent quilting books out there and they will tell you how to deal with a large quilt, but for me about the best I could do with a large quilt is stitch in the ditch or SID. Many quilters quilt by check, paying a longarm quilter to quilt their top for them. Others quilt by hand, something I’ve tried and loved, but that can take forever, especially with a large quilt. These aren’t options for everyone, and that’s where “quilt as you go”, or QAYG comes in.
With a queen or king size quilt, it is much easier to quilt in smaller, more manageable pieces. You can quilt your quilt row by row or even block by block and then use your sashing to assemble the quilt. This is known as quilt as you go.
There are several methods out there and most of them will have you first quilt your blocks or rows. In some methods, you then attach your sashing on the front and back of each section. You will then sew the blocks or rows together (by machine) on the front only. Once the front is all together you’ll go back and hand sew the remaining sashing on the back of the quilt.
 I have made a quilt this way, using the book Reversible Quilts: Two at a Time by Sharon Pederson. It’s a nice method as Ms. Pederson also shows you how to make blocks that will look good on the back as well.
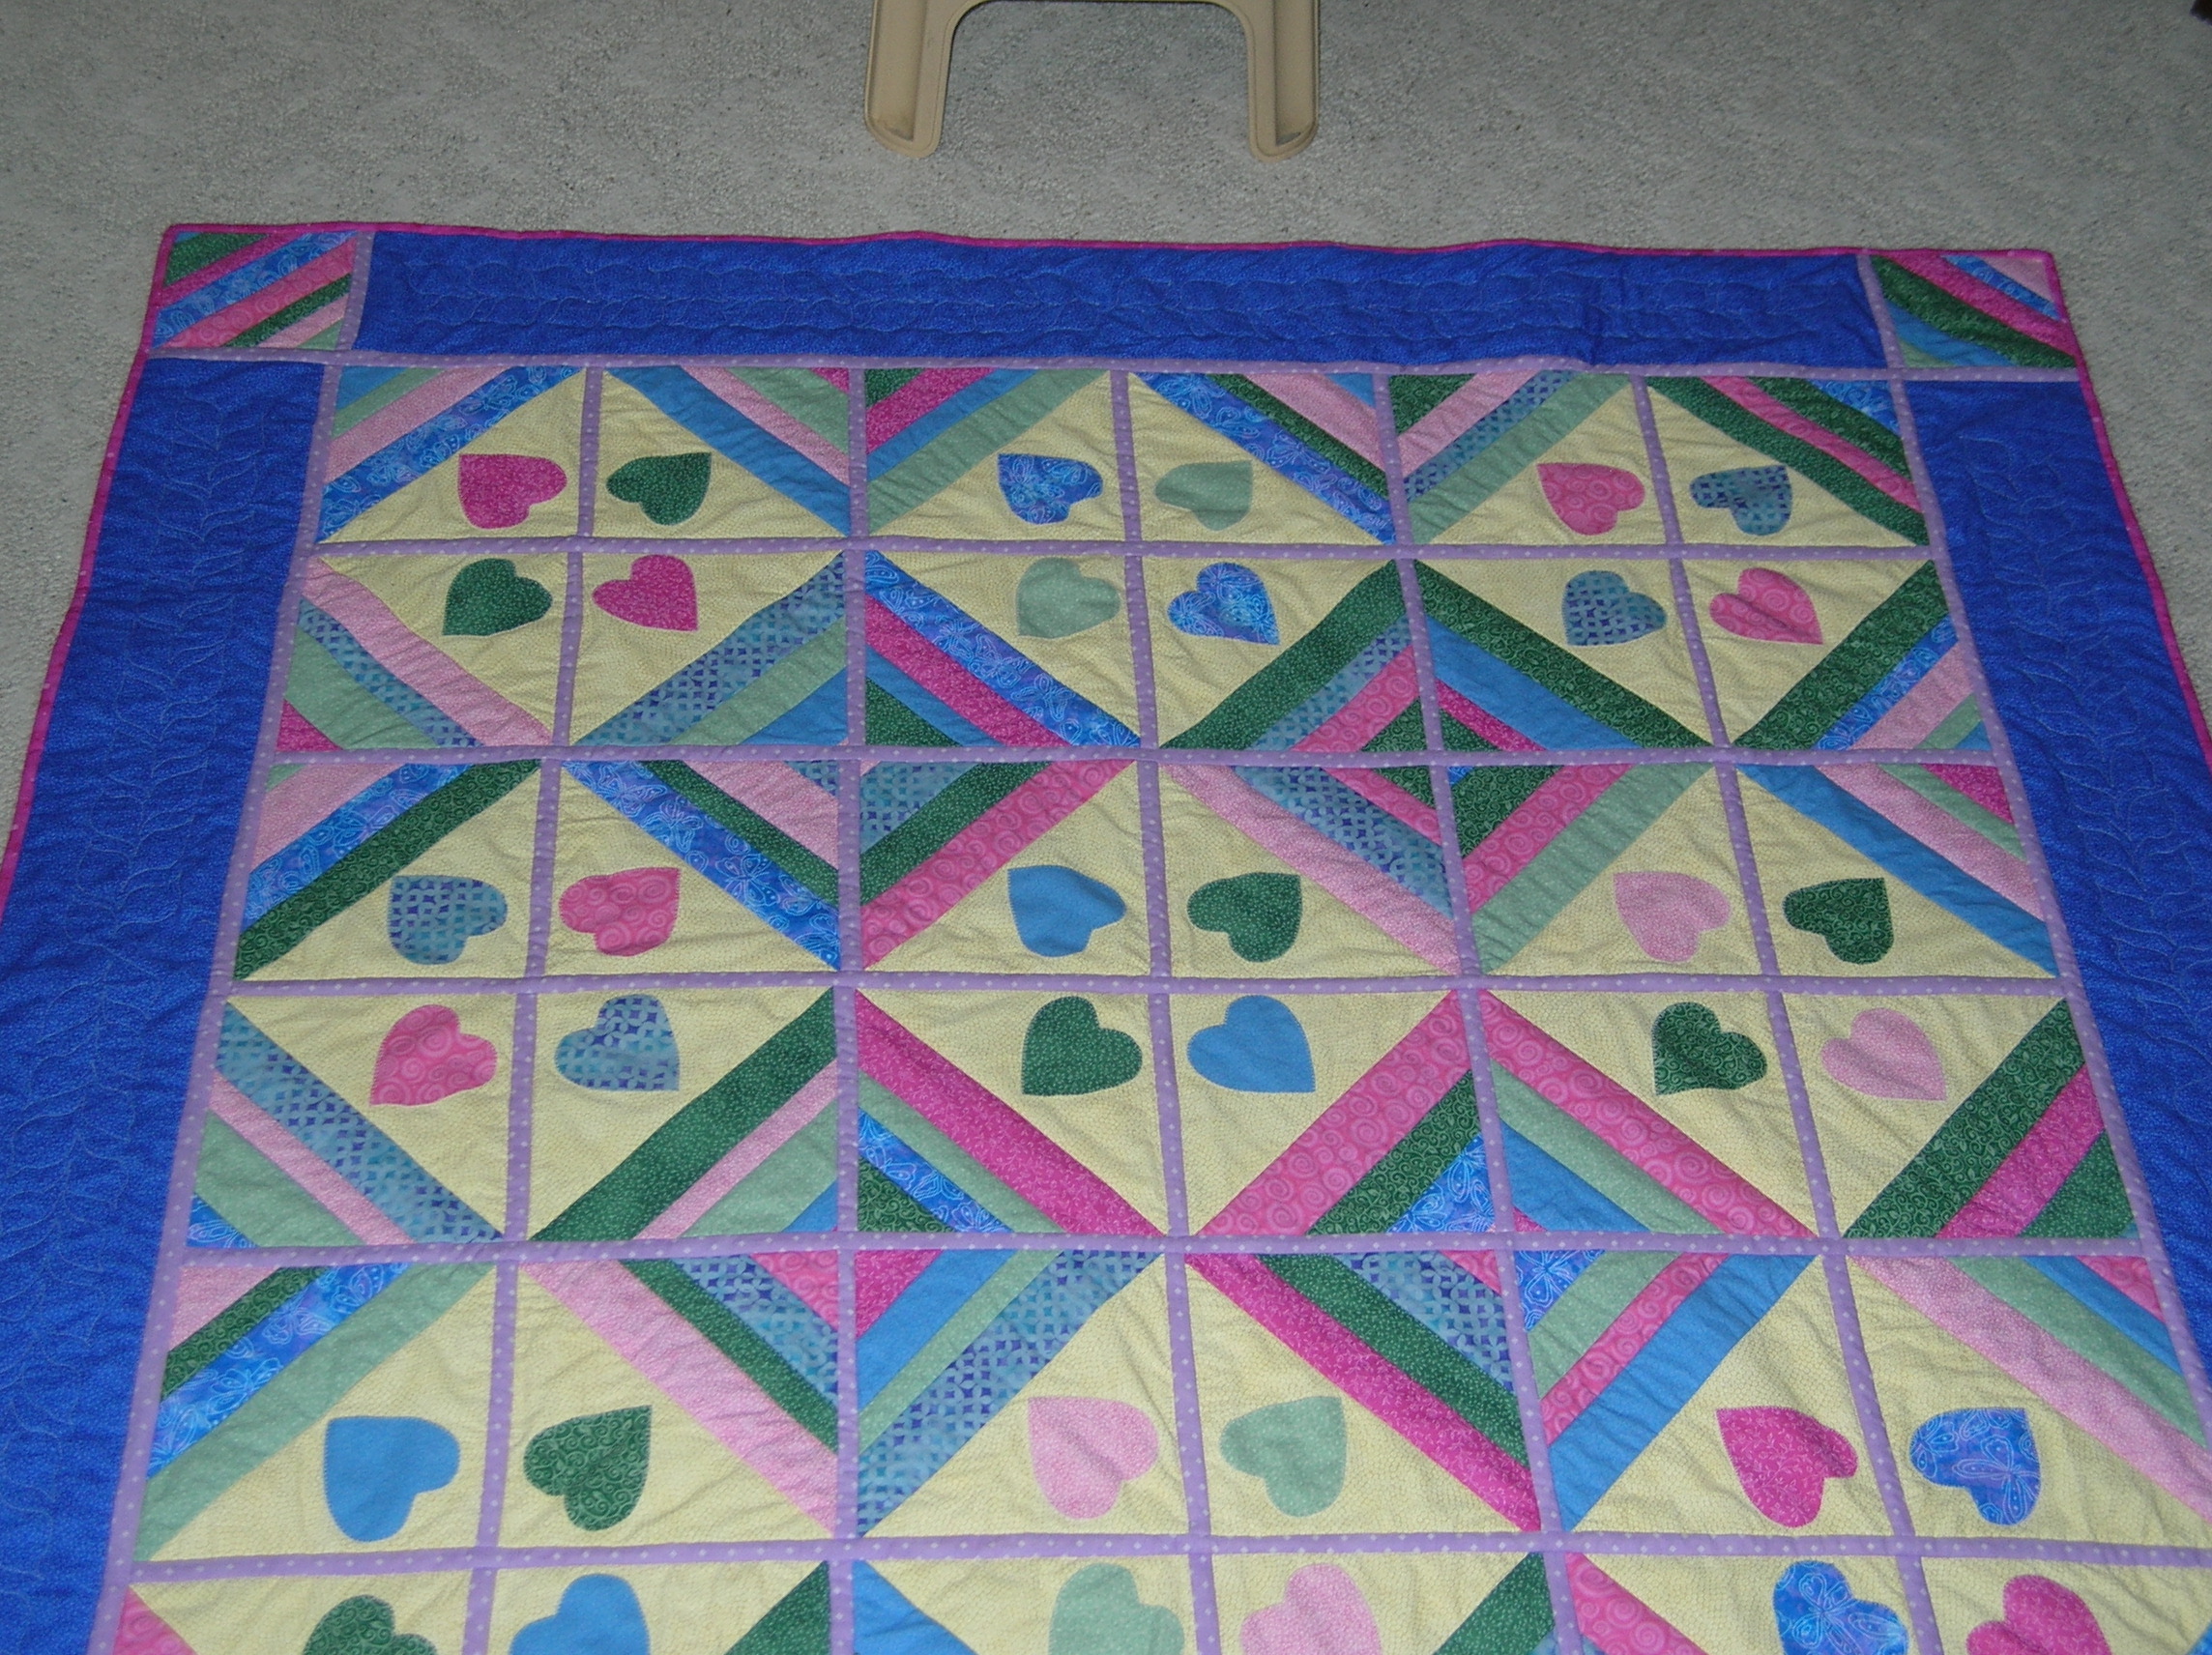
I recently made a baby quilt which was five blocks by five blocks. To use quilt as you go for that quilt I prepared my blocks and layered my batting and backing. I determined the center row of the quilt, lined up the first two blocks in the row, laid them right sides together on top of the batting and backing, and sewed the seam that joined them. I then flipped the top block to its right side, lined up the next block in the same manner and continued through that row.
For the rest of the rows I assembled the rows first. I took the row next to the center row and put it right sides together atop the center row, sewed the seam and flipped it up. I added the remaining rows in the same way. The disadvantage to doing it this way is that you do have to go back and do further quilting, either stitching in the ditch or using other quilting patterns. Once you’ve got the center done you can add your borders in the same way.
There are other methods out there, notably Marti Michell’s book Machine Quilting in Sections and Betty Cotton’s Cotton Theory Quilting. They have stood the test of time and if you’ve struggled with quilting large quilts, you should give them a try. Turn those quilt tops into quilts!